When you walked into your house for the first time, you were in LOVE. And since then, you shelled out a ton of money, closed on the home, and finally moved in. But, wait, why does it feel so different? So many of us fall in love with things in homes that move on with their owner or the stager, leaving a vast and empty shell devoid of character behind. Congrats on your move. You are a boss and a goddess! But where to begin in transforming your house into a home? Hint: You are going to need some tools.
So now, it is up to you. It can seem daunting, but just imagine all the cool colors, finishes, furniture, artwork, rugs, and plants you can bring in to transform your house into that home you have envisioned.
To help in understanding why each of the tools is needed, I am going to begin by showing images of one of my projects, the specific task you would encounter in your home, and the tools you will need to accomplish it.
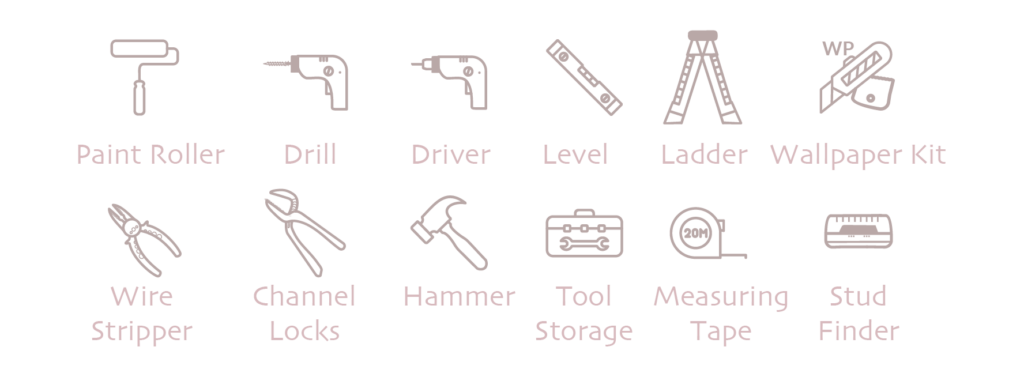
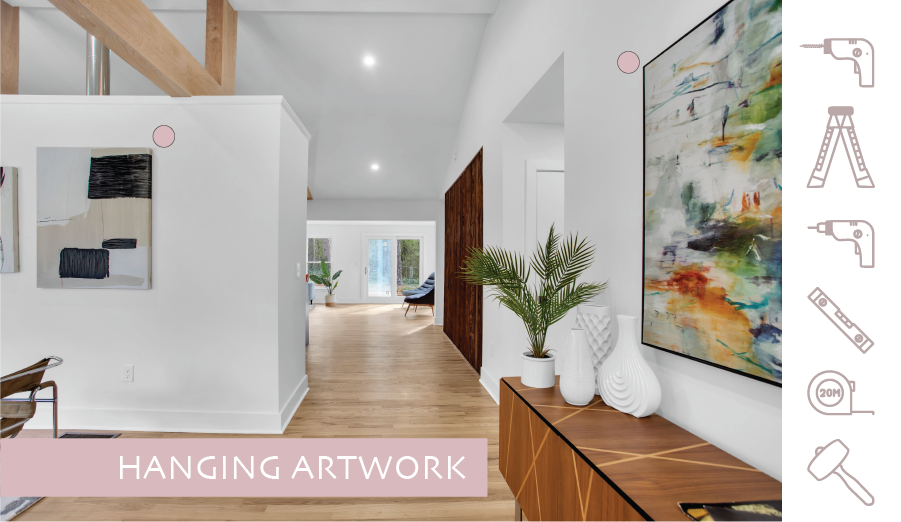
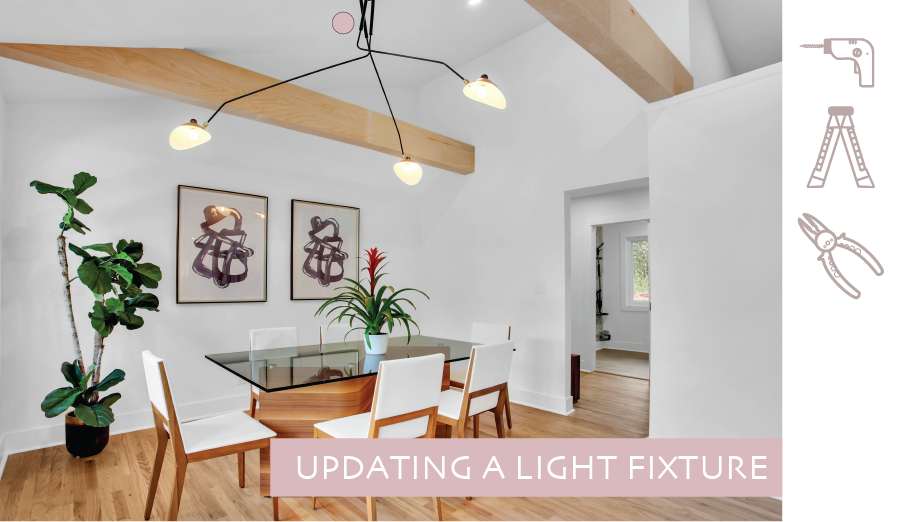
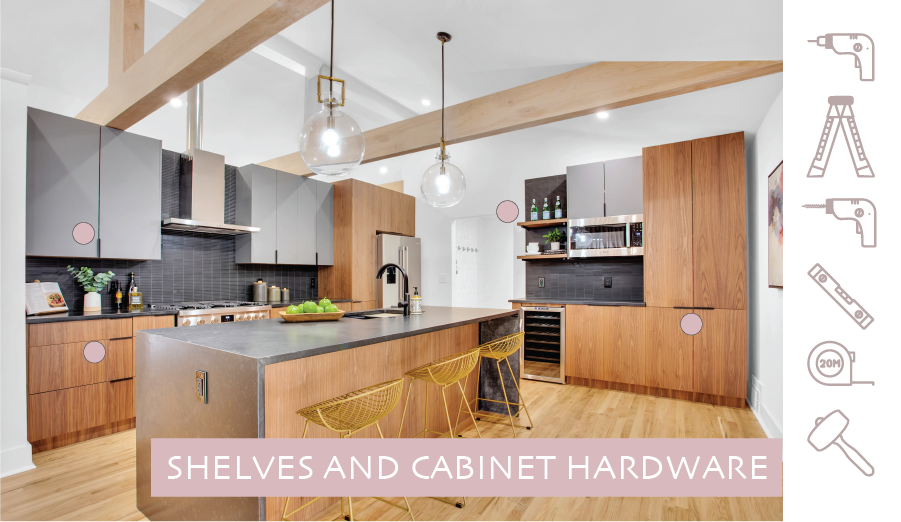
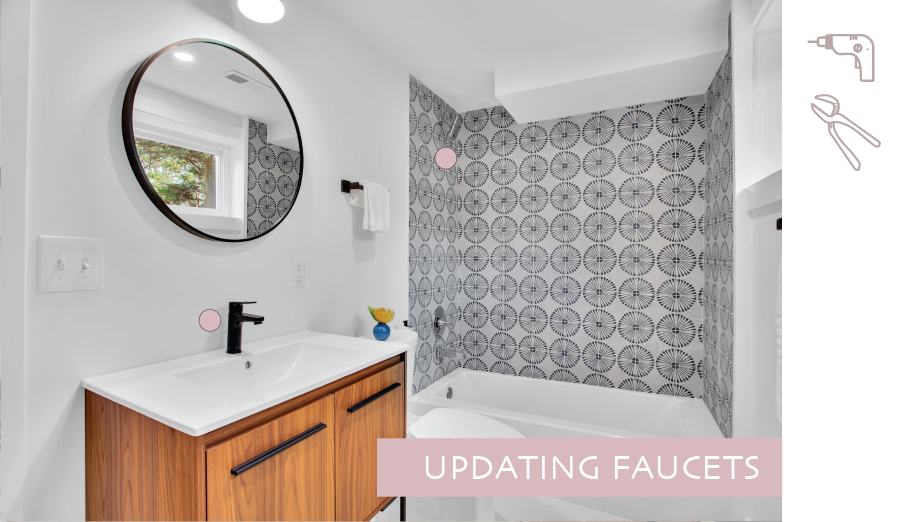
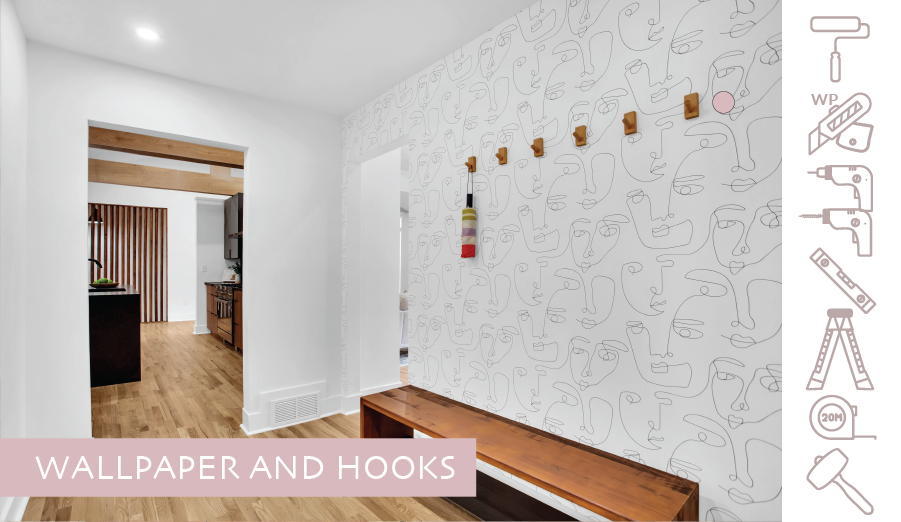
As you can see, with a little bit of elbow grease, and a basic set of tools, you can begin to transform and personalize your own home. You will need fasteners, guides, pencils, etc, but along with these 12 tools, you can do everything yourself with some guidance, patience, and practice. So, let’s talk about the specific tools, all of which you can easily purchase on Amazon.
Disclaimer: This post includes affiliate links, and I will earn a commission if you purchase through these links. Please note that I’ve linked to these products purely because I recommend them and they are from companies I trust. There is no additional cost to you.
1. Hammer & Mallet
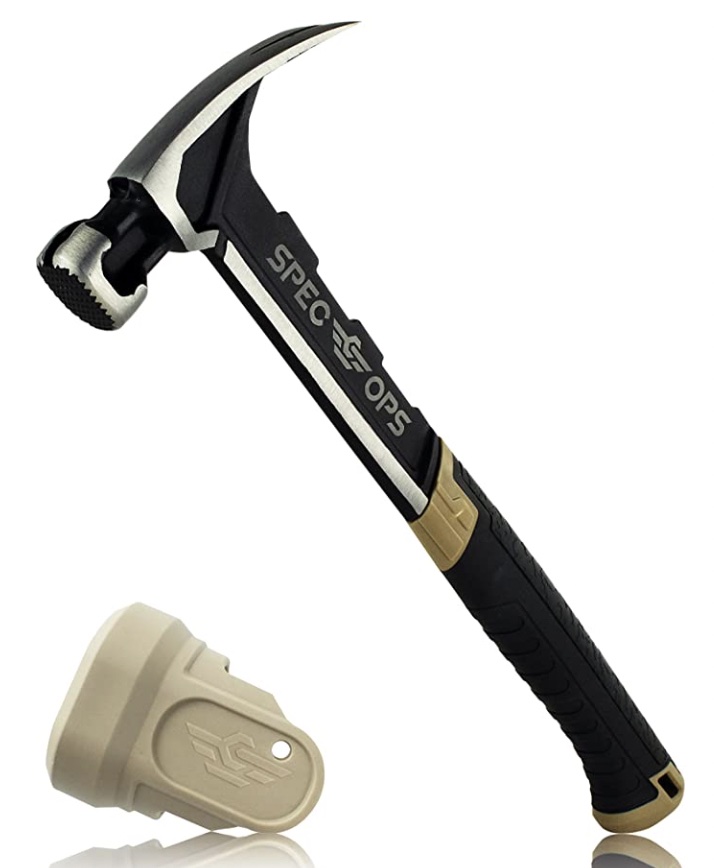
I separated the Hammer and Mallet tool in the diagrams above, but found an amazing hammer with a rubber cap because who doesn’t love a 2 for 1? The Spec Ops SPEC-M22CF-S framing hammer has a shock absorbing grip and a high carbon head that is 25% lighter than traditional framing hammers. It is built for more than just hanging picture nails, but I am a huge proponent of women building whatever they want. So don’t be afraid of having tools that can tackle the simple as well as complex projects in your future, especially at such a low price point.
2. Impact Driver
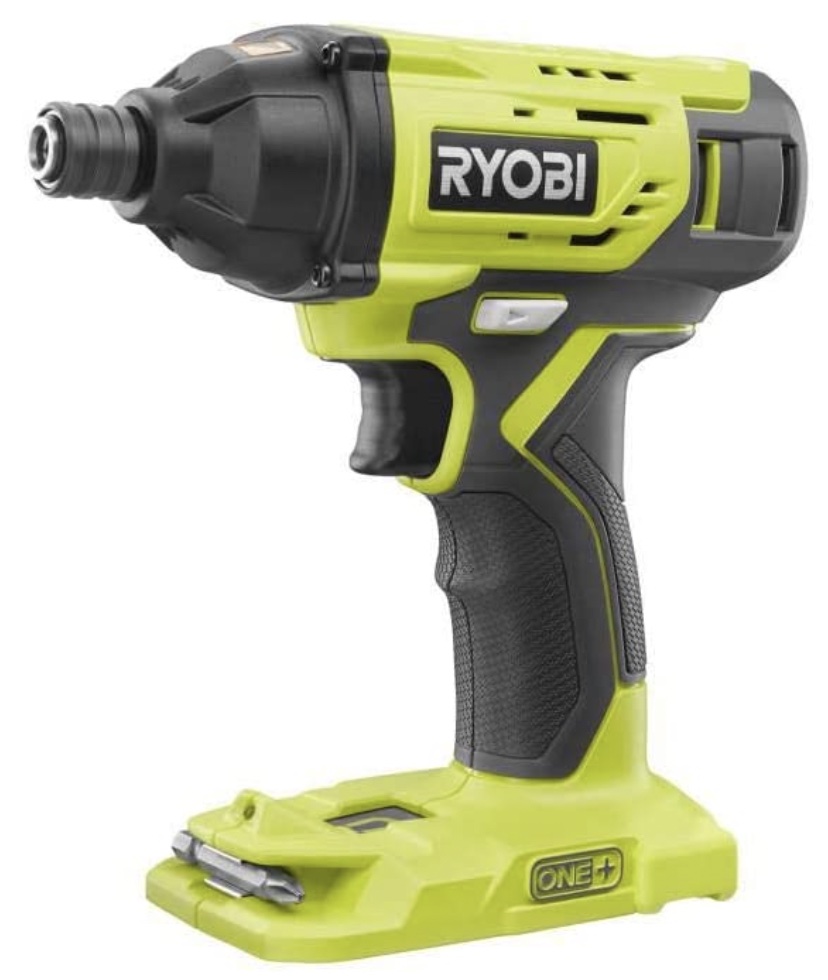
I have the whole suite of Milwaukee tools, but most people won’t be using their power tools as aggressively as I do. For this reason, I recommend the Ryobi P235AK 18-Volt ONE+ Lithium-Ion Cordless 1/4 in. Impact Driver. It is incredibly affordable and is a tried and trusted brand, especially amongst DIY’ers. At 1.5 amps, 18 volts, and 1800 in./lbs of torque, it will easily tackle all the tasks above. Keep in mind that you could perform these same tasks with a simple handheld screwdriver, but in my experience, there is nothing gained with going the slow route. You end up annoyed and with a sore wrist with the tedium of endlessly turning these handheld tools. This kit comes with the Impact Driver, two lithium batteries, and the charger. You will also need to purchase a screwdriver bit set separately.
3. Drill
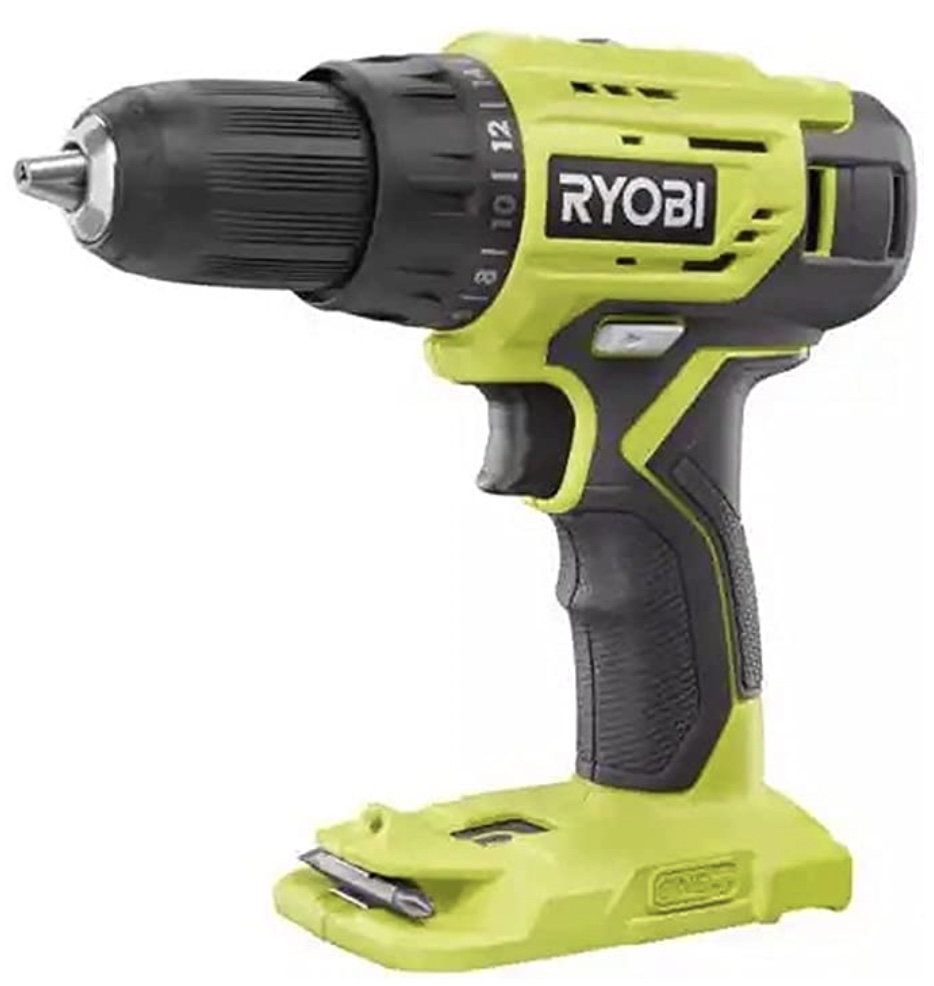
The Driver and Drill share the same batteries and charger. So the good news here, is that you will only need to purchase the additional tool, the Ryobi P215BN Drill. You will always need to use the combination of a drill (to create a hole in your surface) and the driver (to install the fastener) wherever you do not have studs. You will also need to purchase a set of drill bits separately.
4. Measuring Tape
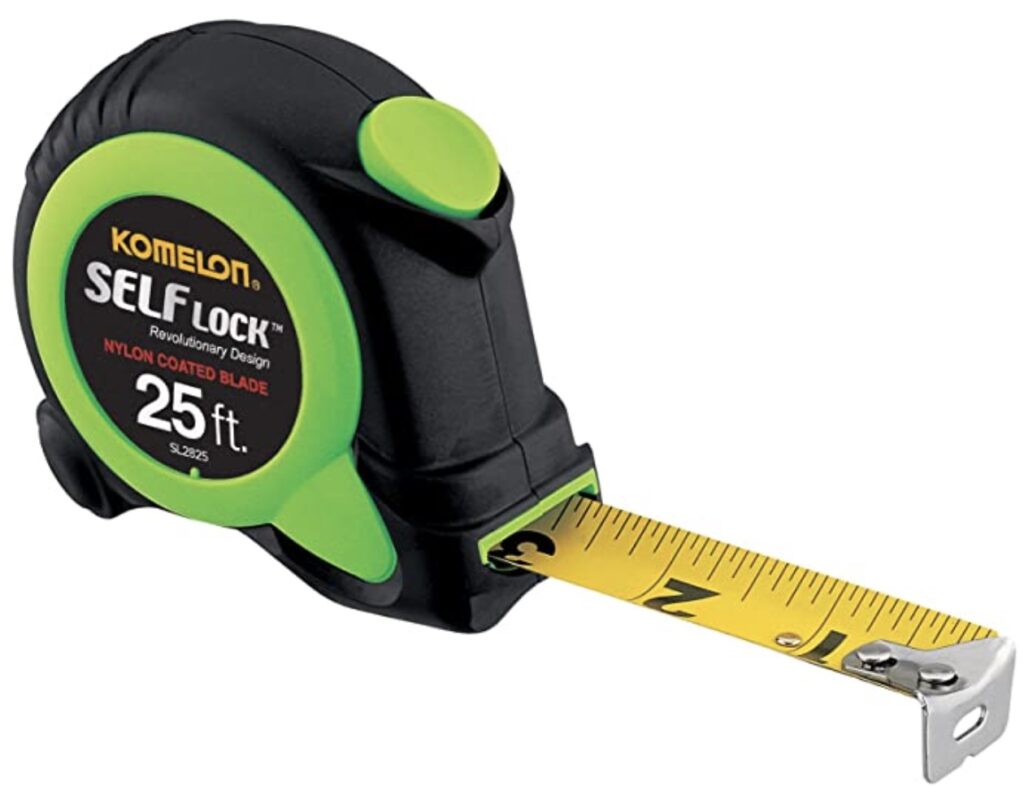
If I were to create this list in order of importance, or most essential/basic, this tool would come first. It is generally the first tool you will use in your sequence regardless of task. I recommend the Komelon SL2825 Self Lock 25-Foot Power Tape because it is self-locking. Other tapes require you to push a button to lock the tape once you have the measurement you want and then unlock it to roll back into its housing. It sounds trivial, but after a full day of measuring (and doing this twice for good measure) you will appreciate that this is one less thing you need to actively think on or worry about. It comes in a black and green impact resistant case which stands out amongst most things (hint: harder to lose).
5. Stud Finder
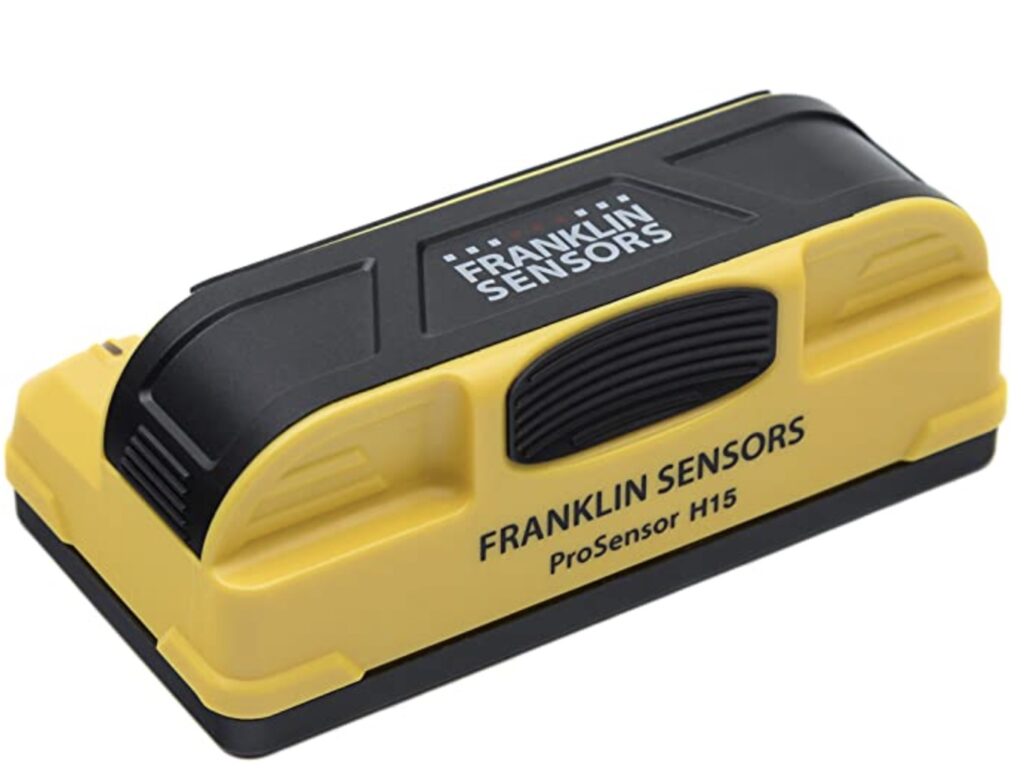
None of us has X-ray vision, and so the next best thing is the Franklin Sensors ProSensor M150 Professional Stud Finder. Knowing what is behind your wall is critical. If you aren’t screwing or nailing directly into a stud you need an anchor or sleeve of some sort. I have tried so many stud finders in the last decade and these tools were always the most frustrating. Many are not consistent and end up confusing more than helping. But the Franklin Sensors stud finder is a game changer. The fact that it has 9 sensors and can let you know the exact location of studs while displaying the center and edges simultaneously as well as live electrical makes this a MUST-HAVE tool.
6. Channel Locks

Channellock is actually a brand name but it has become synonymous with this tool. Technically this is a Tongue and Groove Plier. I recommend the Channellock 430 and you will use this tool for all plumbing related upgrades to your home. They are made from high carbon steel, have comfort grips and are adjustable up to an opening of 2″.
7. Paint brush & roller
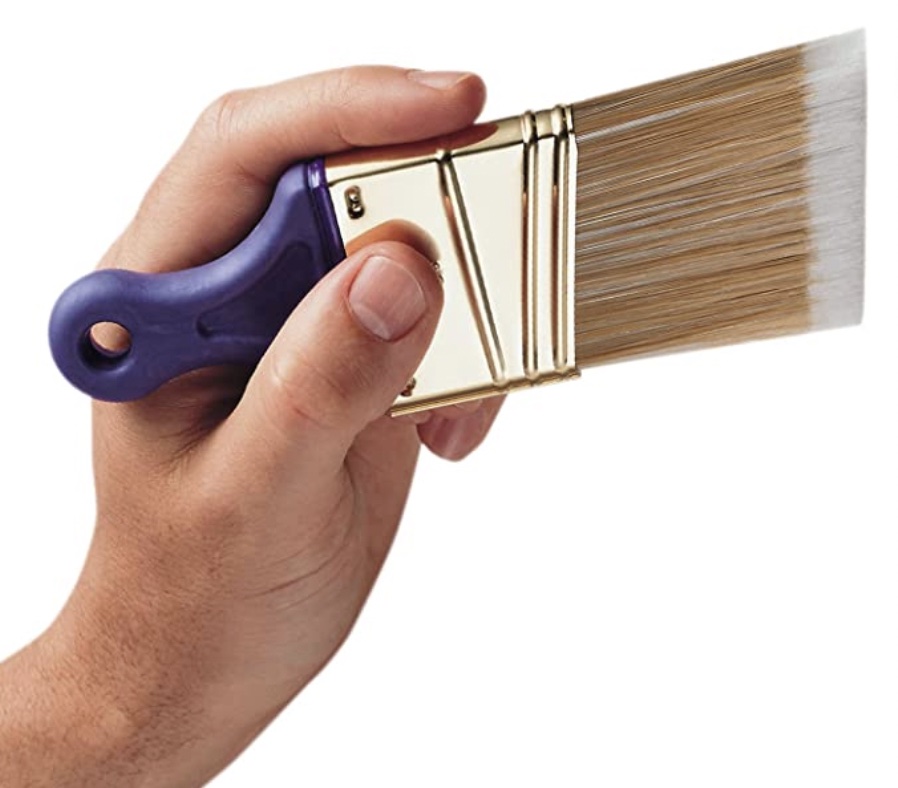
This one I feel is much more subjective. We all have different preferences between brush and roller and will need both depending on application. And there is always a “Good”, “Better”, and best “Category” for both rollers and brushes. So, generally speaking, I leave it up to you, but I do recommend the Wooster Brush Q3211-2 Shortcut Angle Sash Paintbrush. I find it has an easier grip and ultimately the edges of the walls are where most imperfections are most easily noticed, the design of this tool makes getting crisp and clean edges a lot easier.
8. Ladder
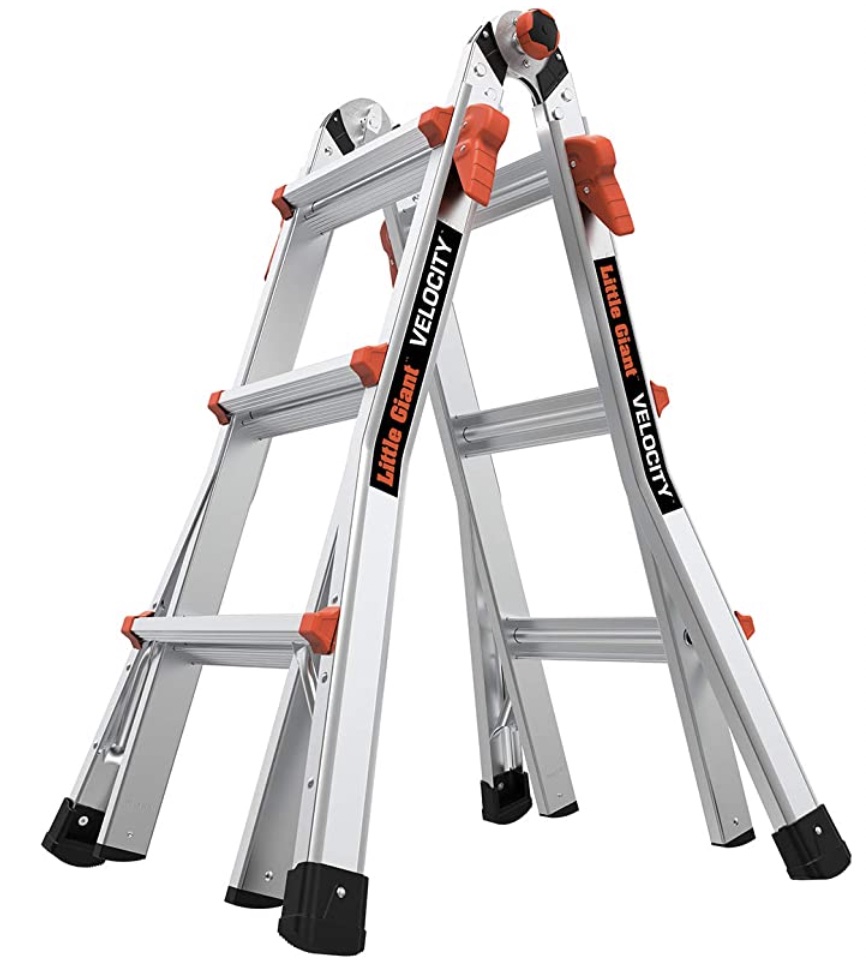
As a vertically challenged individual, the ladder is my best friend. And regardless of your height, there will always be a need for this tool when improving or personalizing your space. In my opinion, this tool comes in second, right behind the measuring tape. I recommend the Little Giant M13, 13Ft, Multi-Position Ladder. This is an aluminum ladder that goes from an “A” frame height of 5′-1″ to a full extension of 13′. It can have many different configurations and has a weight capacity of 300lbs. It is one of the more expensive tools on this list, but it will last a lifetime.
9. Storage
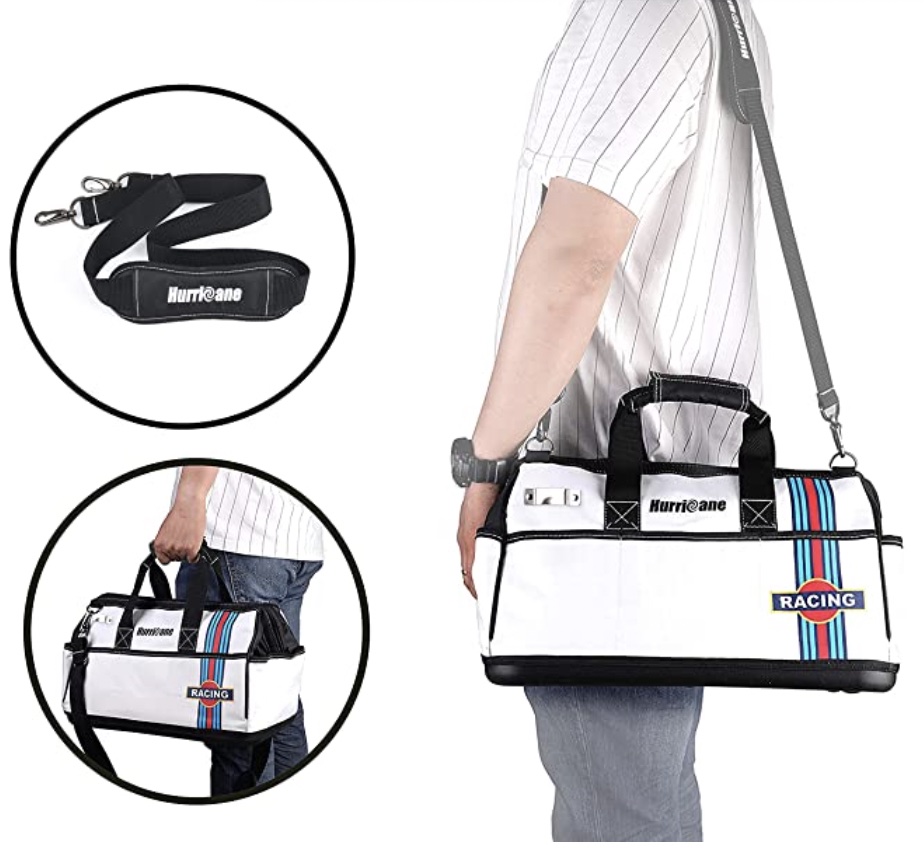
Now that you have your essential tools, you will need a way to store them. The Drill and Driver have their own bag, but the rest of the tools can easily get lost if not kept together. Again, this tool boils down to preference, and I like the Hurricane 16 inch Wide Mouth Tool Bag with Water Proof Molded Base because it has a molded plastic base. I have used other polyester or canvas bags and they have easily torn after some abuse. And let’s face it, it is super cute. No point in not being excited about your tools and carrying them around from time to time!
10. Wire Stripper
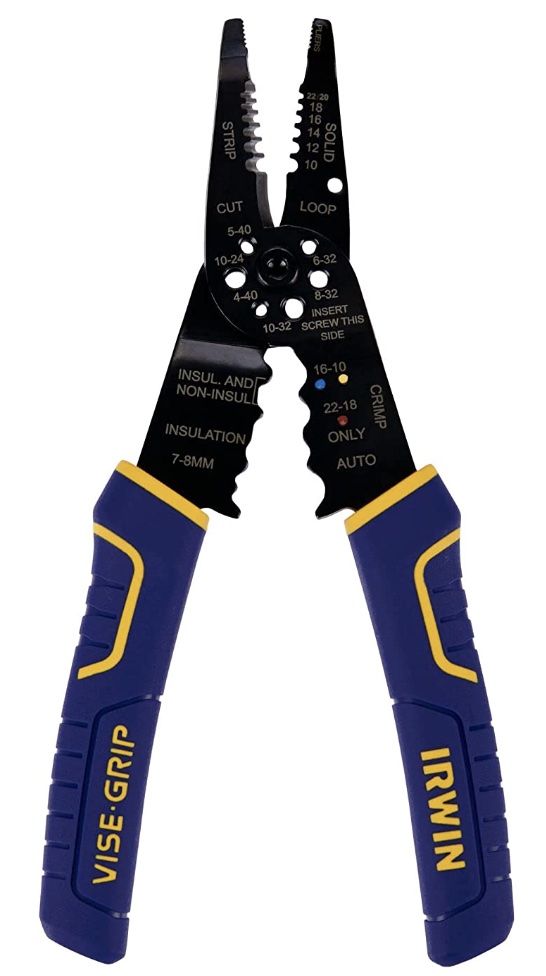
I often say that accessories and fixtures are the jewelry of home improvement. A cool light fixture works wonders in your space (just like those earrings and that scarf perfectly frame your face). And if working with electrical you will need the IRWIN Vise-Grip Wire Stripping Tool / Wire Cutter. In order to change out a fixture you most likely need to strip or cut a small section of your existing wire or that of the new fixture, in order to get it to be the right height (if a pendant). This tool seems quite intimidating, but is very straightforward once you get to know a little more about it. (Future post coming soon).
11. Level
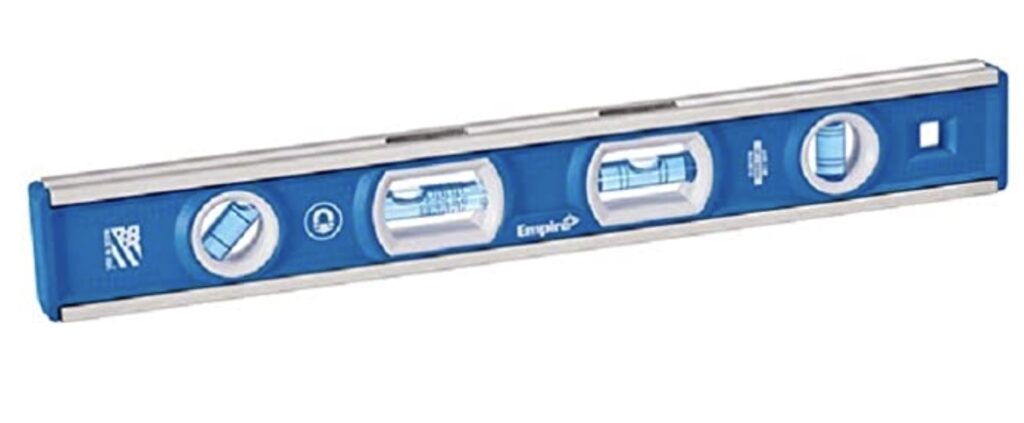
You are going to spend your valuable time, money, and effort in transforming your space. The last thing you want is for things to seem kind of off when all is said and done. The Empire EM81.12 True Blue 12-Inch Magnetic Tool Box Level is a great 12″ level that can ensure that everything looks like it should. The 4 vials read plumb, level, 45 degree and vari-pitch slope in 1/8-inch increments. And it is magnetic! A huge help when you are in the thick of it all.
12. Wallpaper Installation Kit
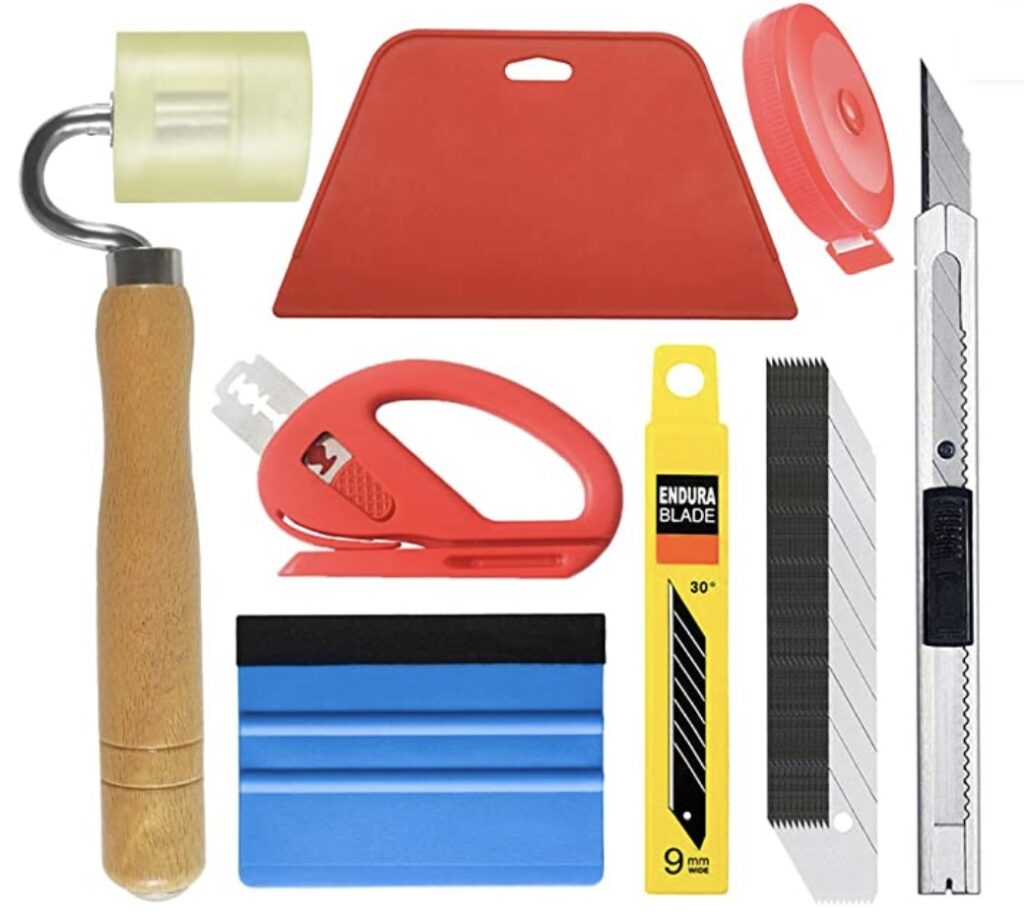
Wallpaper is back! But this is not your grandmother’s wallpaper. You can find so many cool, chic, and funky wallpapers at varying price points. And they all have immediate impact. Wallpaper can truly transform a space and inject a ton of personality. The tiptopcarbon Wallpaper Tool Kit helps make the installation process a breeze.
That’s it! As you progress in your DIY journey, you can always upgrade or buy more specialty tools (I have them all!) but we all begin with the basic and the tools above will allow you to perform so many tasks that will make your home a true reflection of you and your personality. I would love to hear which ones you ended up with and to learn more about what you are planning on doing or have done, and how I can continue to be a resource to you.
Happy Decorating!!!! You can find some of my work on my instagram.
